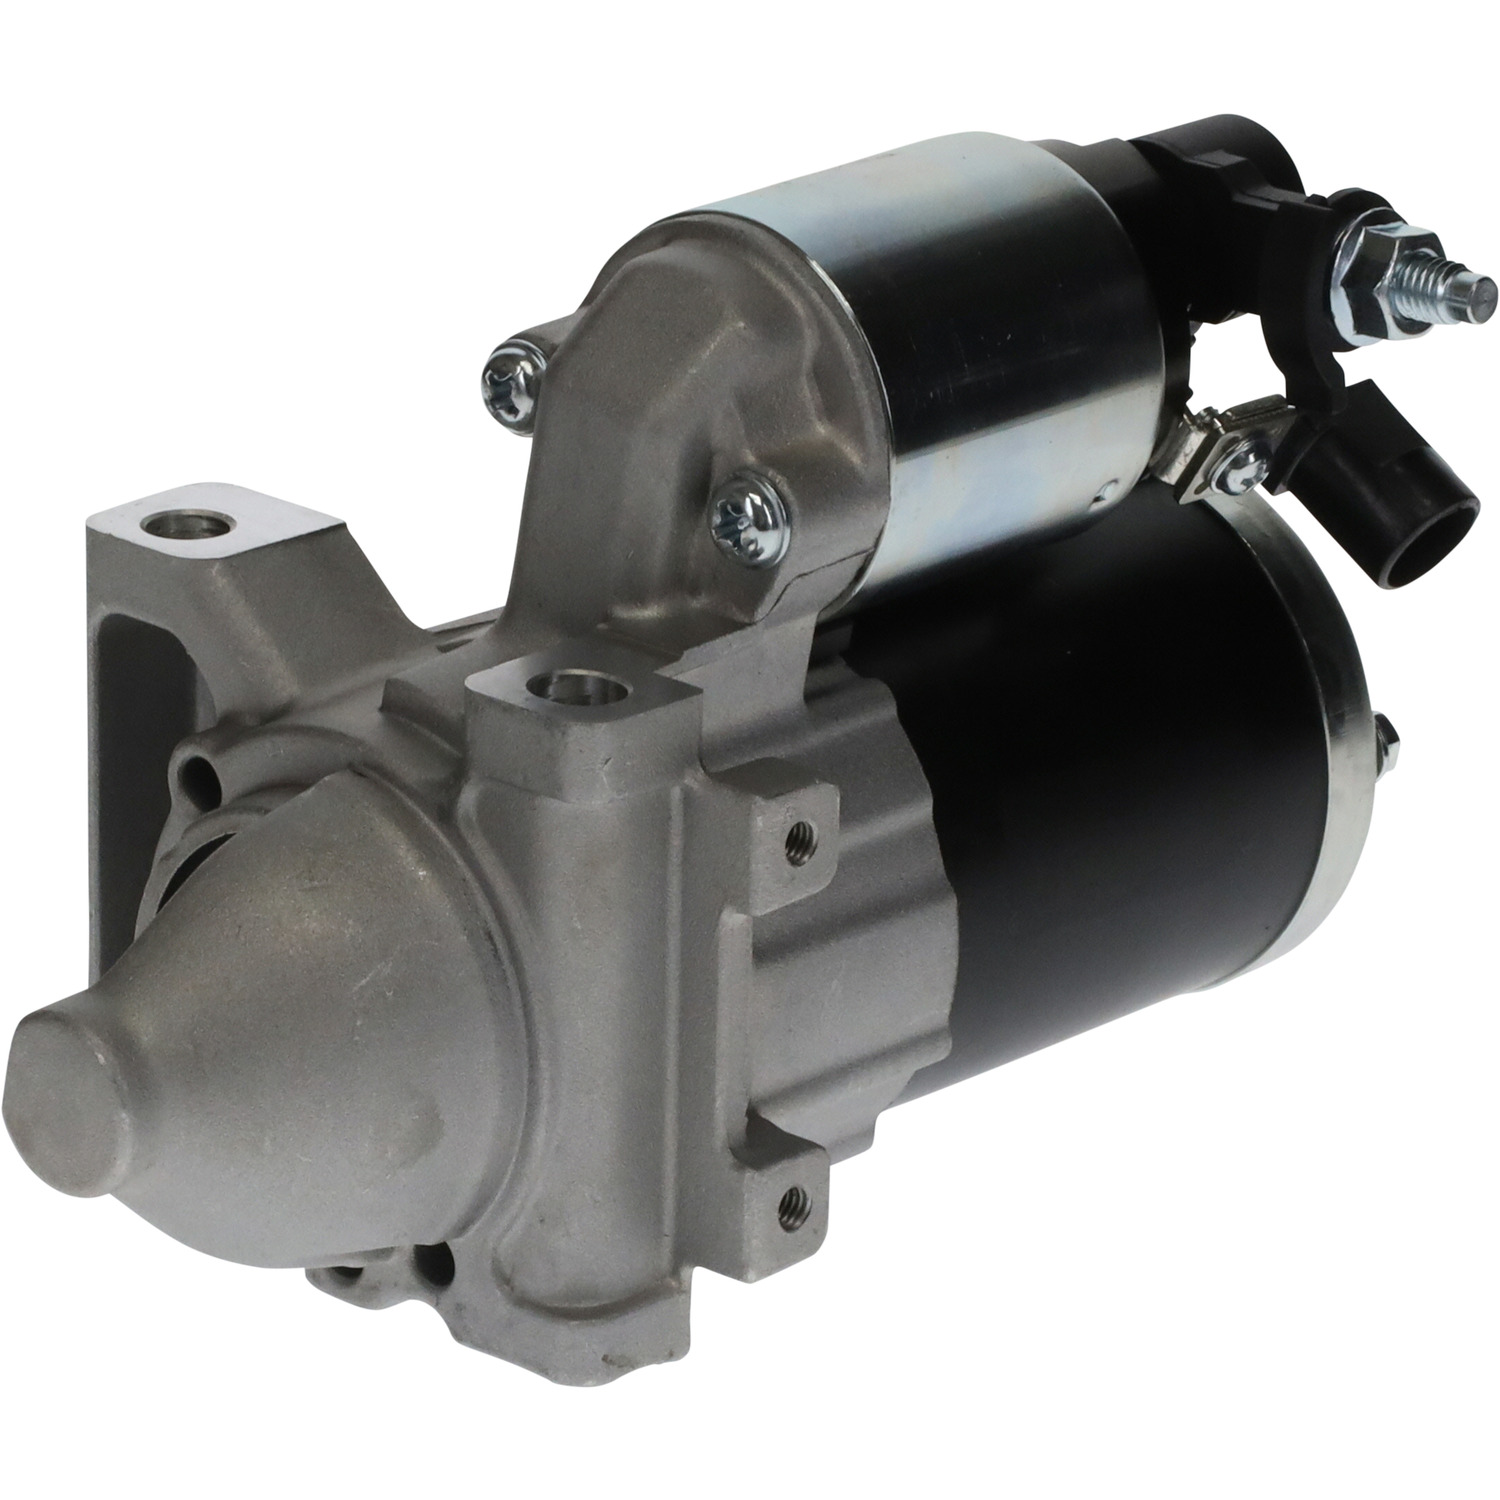
Starter replacement should begin with confirmation, not installation. Before the unit is fitted, compare the removed starter with the replacement across voltage, tooth count, rotation, mounting ear position, solenoid location, connector style, and nose-cone depth. Small differences in these areas can create a no-fit condition even when the vehicle model appears correct.
Check the vehicle-side system before blaming the old starter. A weak battery, high cable resistance, poor ground, damaged relay circuit, or unstable ignition signal can make a good starter appear defective. Recording these checks protects both the installer and the buyer from repeating the same failure after replacement.
Physical inspection is especially important for B2B sourcing because different OE numbers can belong to similar-looking families. Photos from the drive end, solenoid side, rear cover, label area, and mounting face give the supplier enough information to compare the requested part against catalog and cross-reference data.
Useful inquiry details include Crankvia Part No., source SKU, OE number, Lester number, engine, market, model year range, and quantity. If the old unit is still available, include clear photos and any label stamping before asking for quotation.
For final ordering, confirm the application against OE number, vehicle configuration, engine, and market. Treat the catalog as a sourcing guide first, then use supplier confirmation to reduce mismatch risk before bulk purchase.